Your memory foam mattress suddenly split during moving? Custom cushion layers separating after months of use? Whether repairing a damaged mattress or assembling a DIY seating project, knowing how to glue memory foam together properly makes the difference between a temporary fix and a permanent solution. This guide reveals professional techniques that maintain foam’s comfort while creating bonds strong enough to last years—not weeks.
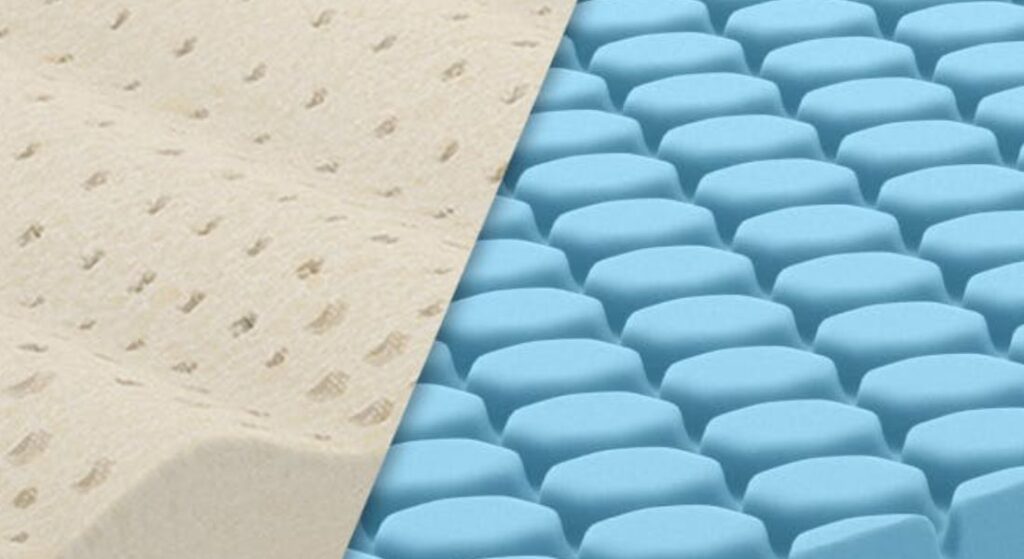
Memory foam’s unique cellular structure requires special adhesion approaches that regular glues can’t handle. Using the wrong adhesive leads to stiff, crunchy seams that ruin the foam’s pressure-relieving properties. You’ll learn exactly which products work, step-by-step bonding methods, and critical mistakes that cause most DIY failures.
Selecting the Right Adhesive for Memory Foam Repairs
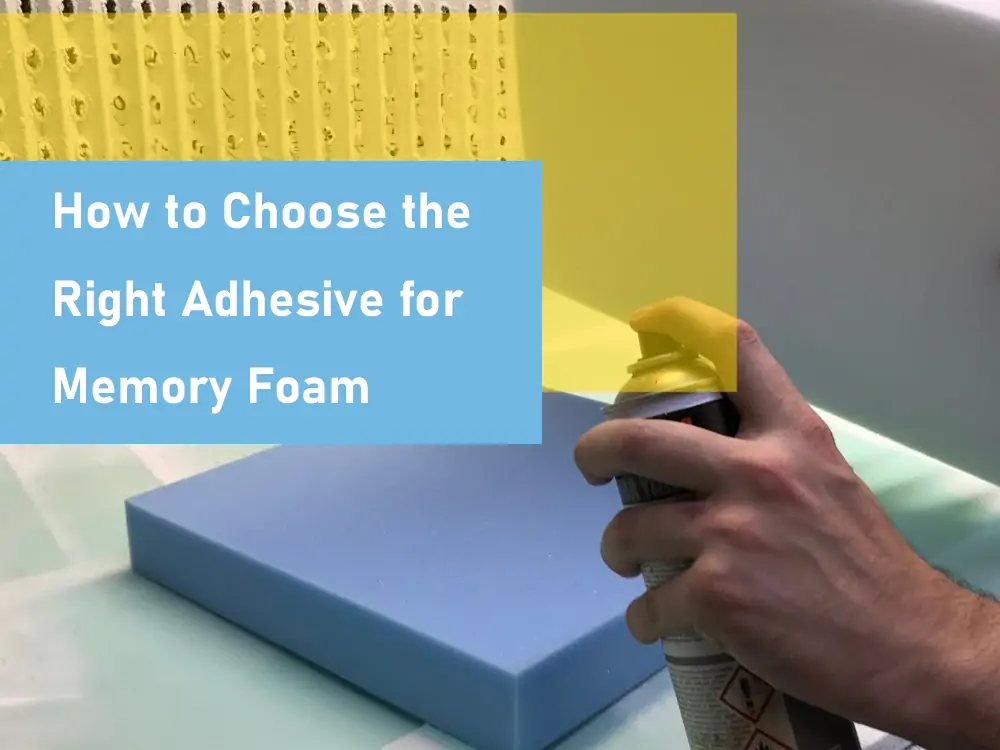
Spray Adhesives Outperform All Alternatives for Home Projects
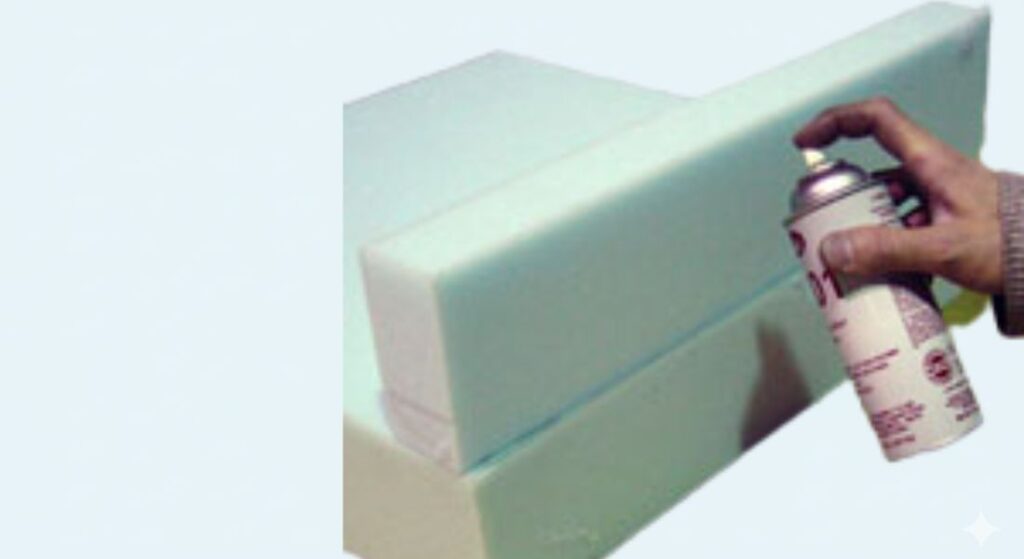
Sprayidea 32 and similar foam-specific aerosol adhesives deliver professional results without expensive equipment. These contact adhesives spread evenly across large surfaces, creating flexible bonds that maintain your foam’s original feel. Apply light coats to both surfaces, wait 15-30 seconds for tack development, then press pieces together for an instant hold.
Why spray adhesives win:
– Even distribution prevents weak spots
– Flexible bonds won’t stiffen your foam
– No residue that creates uncomfortable crunchiness
– Sets quickly—ready for handling in 30 minutes
Water-Based vs Solvent-Based Adhesive Tradeoffs
Water-based adhesives offer eco-friendly bonding but require careful humidity control and longer drying times. They work well for indoor projects with good ventilation but risk mold growth if sealed while damp. Solvent-based options create stronger initial bonds but emit VOCs during curing—always choose low-VOC formulations to prevent foam degradation.
Critical mistake: Never use hot melt adhesives. These industrial solutions require temperatures exceeding 300°F that melt memory foam’s cellular structure, causing permanent damage.
Preparing Foam Surfaces for Maximum Bond Strength
Create Perfectly Flat Bonding Edges
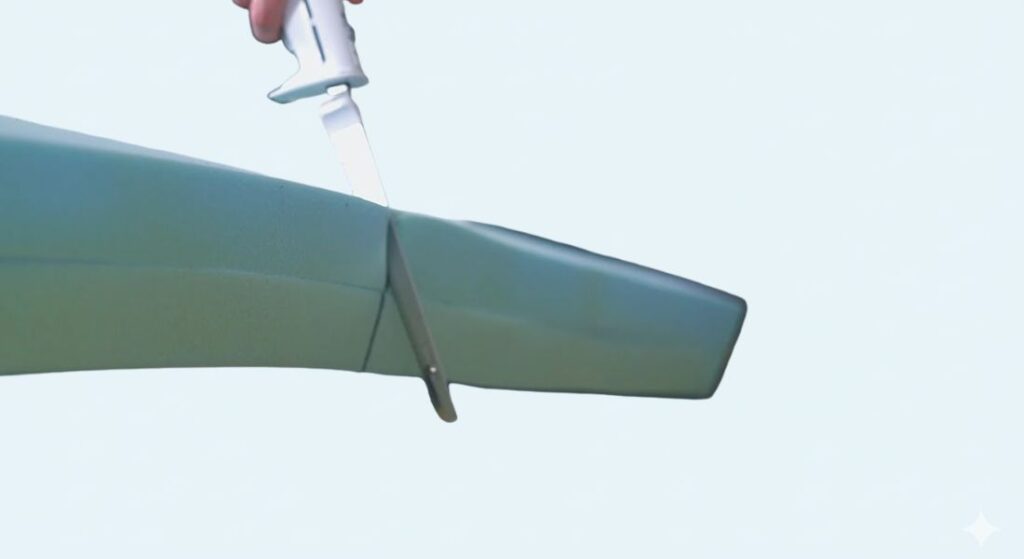
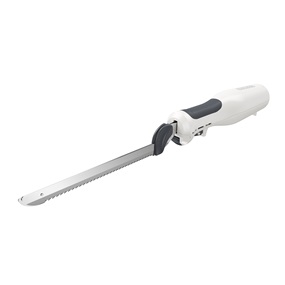
Memory foam bonds fail when surfaces contain dust, oils, or moisture. Vacuum both mating surfaces thoroughly, then wipe with isopropyl alcohol. Use a sharp electric carving knife to create square, flat edges—this prevents gaps that weaken the bond.
Quick test: Press pieces together dry. If light shows through gaps, continue trimming until surfaces mate flush. Uneven edges cause weak spots that separate under pressure.
Optimize Your Bonding Workspace
Set up a dedicated area with these essentials:
– Ventilation: Open windows or use exhaust fans
– Protection: Cardboard drop cloths prevent overspray
– Positioning: Arrange foam pieces with bonding surfaces fully accessible
– Templates: Cut cardboard guides for large projects
Executing the Perfect Memory Foam Bond
Step-by-Step Contact Bonding Method
Step 1: Apply Adhesive Evenly
Hold spray can 6-8 inches from surface. Apply light, consistent coats to both bonding surfaces—never saturate the foam. Heavy application creates puddles that weaken the bond.
Step 2: Wait for Proper Tack
Let adhesive develop tack for 15-30 seconds. It’s ready when the surface feels sticky but doesn’t transfer to your gloved finger. Rushing this step causes misalignment.
Step 3: Align and Press
Carefully align edges before contact—once surfaces touch, repositioning becomes impossible. Apply firm, even pressure across the entire seam using your palms or a clean rolling pin.
Step 4: Cure Completely
Allow 15-30 minutes before handling. Full strength requires 2-4 hours depending on temperature and humidity.
Bonding Large Memory Foam Pieces Successfully
Master the Fold-and-Roll Technique
This method prevents misalignment on mattress toppers or oversized cushions:
1. Position top foam layer correctly on base
2. Fold back half like opening a book
3. Spray exposed base foam surface
4. Roll folded section into place, smoothing as you progress
5. Repeat for remaining half
6. Use cardboard shields to block overspray
Create Alignment Frames for Precision
Build a simple plywood frame matching your final dimensions. The frame edges act as alignment guides, ensuring perfect positioning when working alone—critical when bonding queen-sized mattress pads (typically 58 3/8″ × 40″).
Applying Correct Pressure for Seamless Bonds
Choose the Right Pressure Method for Your Project
Hand pressure works for small repairs—pinch along the seam line working from one end to the other. For larger projects, distribute weight evenly using:
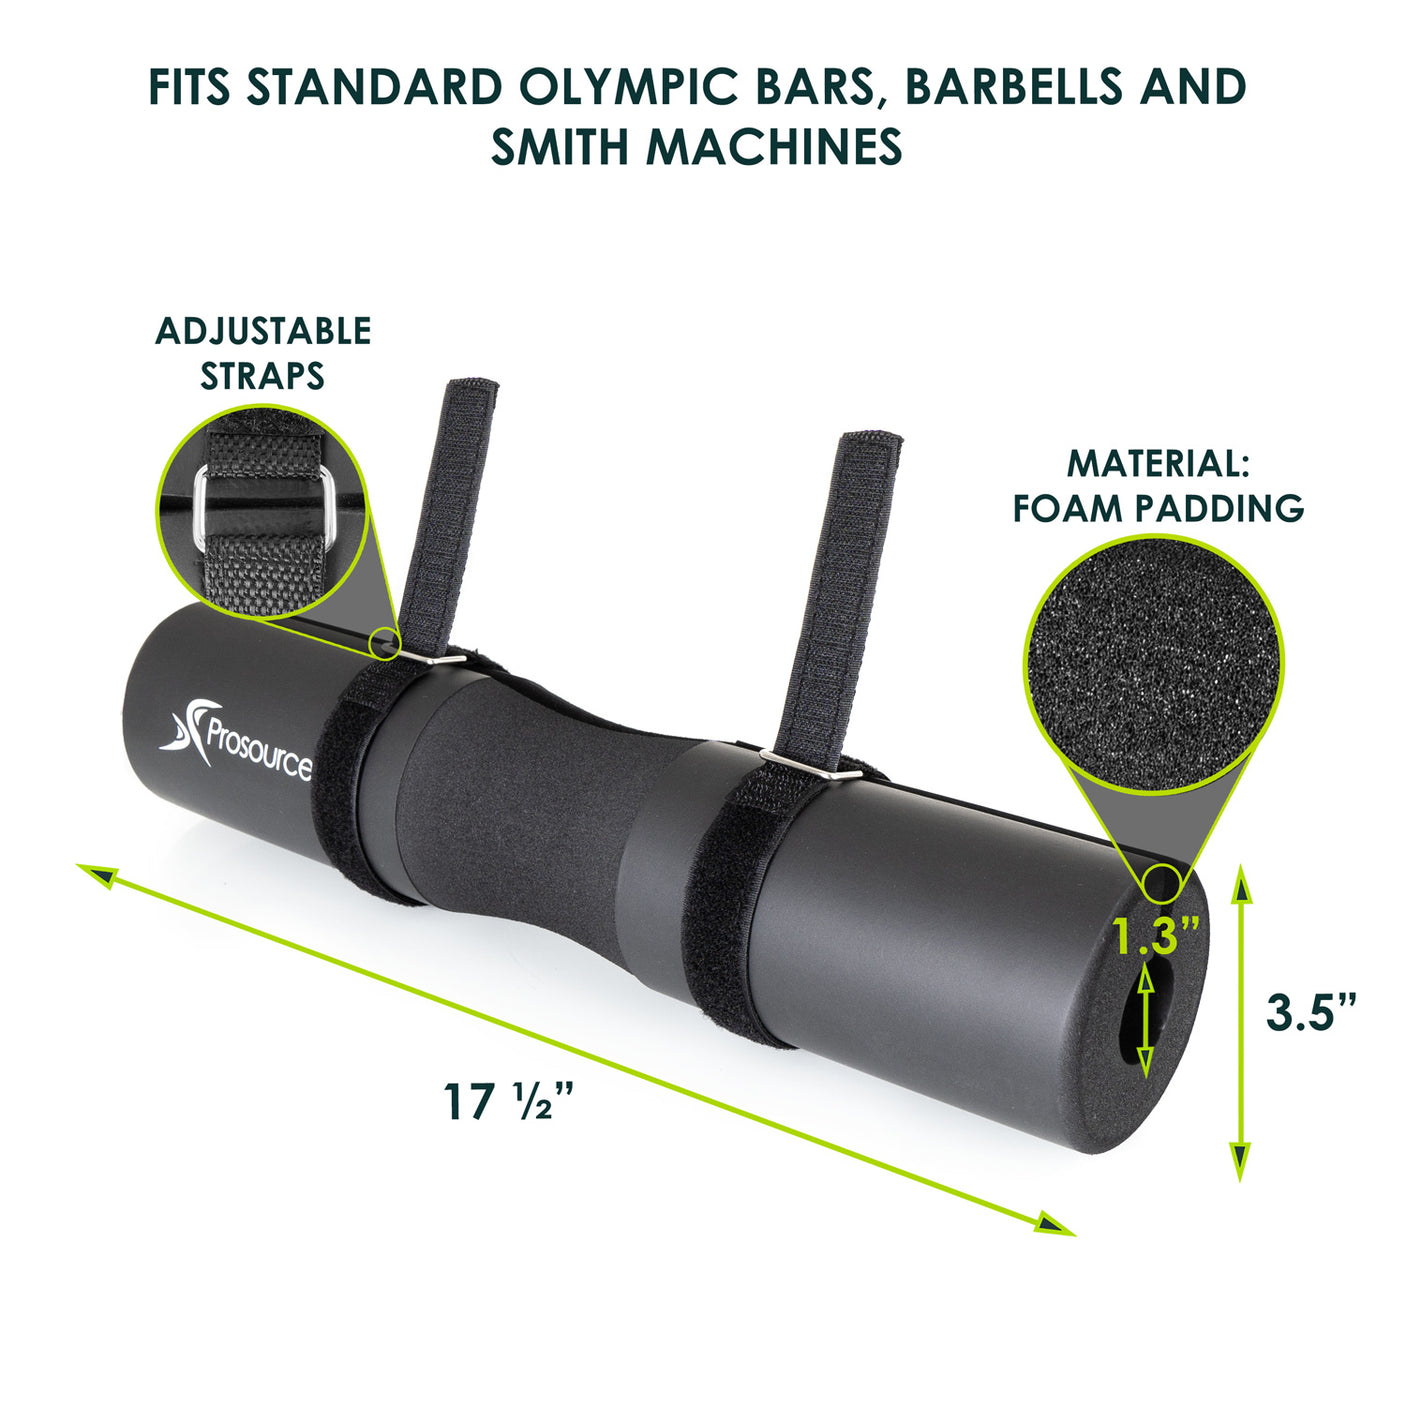
– Barbell weights wrapped in towels
– Furniture pieces with flat surfaces
– Cardboard/wood substrate to prevent foam deformation
Critical mistake: Using narrow clamps without padding creates permanent indentations that ruin foam comfort.
Trimming and Finishing Bonded Memory Foam
Achieve Professional Edges After Bonding
Once fully cured, trim excess foam using an electric carving knife. Create cardboard templates for square, accurate cuts—freehand cuts fail because memory foam compresses easily. Mark cutting lines with permanent marker before trimming.
Pro tip: Allow 1/4″ extra material initially. Trimming bonded foam precisely requires experience, and you can always remove more material later.
Fixing Common Memory Foam Bonding Failures
Weak Bond Solutions
Cause: Insufficient surface prep or low-quality adhesive
Fix: Re-clean surfaces with alcohol, switch to foam-specific spray adhesive, increase pressure application time to 24 hours
Misalignment During Bonding
Cause: Rushed application or poor workspace setup
Fix: Use the fold-and-roll technique or create cardboard alignment guides before applying adhesive
Visible Seam Lines
Cause: Uneven pressure or mismatched foam densities
Fix: Apply consistent pressure across entire bonding surface, ensure foam pieces have similar density ratings
Essential Safety Practices for Memory Foam Bonding
Mandatory Protective Gear
- Respirator: Required for projects over 30 minutes
- Gloves: Prevent skin contact and fingerprints on foam
- Ventilation: Maintain airflow until adhesive fully cures
- Storage: Keep adhesives in cool, dry locations
Quality Testing Before Full Application
Before committing to your project:
1. Test adhesive on scrap foam from same batch
2. Allow full 24-hour cure
3. Flex bonded area—should maintain foam’s original characteristics
4. Check seam strength by gentle pulling
Professional Techniques for Invisible Seams
Seam Hiding Strategies That Work
- Grain matching: Align foam texture direction for visual consistency
- Density matching: Use identical foam types to prevent feel variations
- Edge feathering: Lightly sand bonded edges for seamless transitions
Ensuring Long-Term Durability
- Avoid solvent-heavy adhesives that degrade foam over time
- Complete edge coverage prevents delamination
- Proper cure time before compression testing or installation
- Temperature control during cure—avoid cold environments
Real-World Memory Foam Bonding Applications
Mattress Repairs That Last
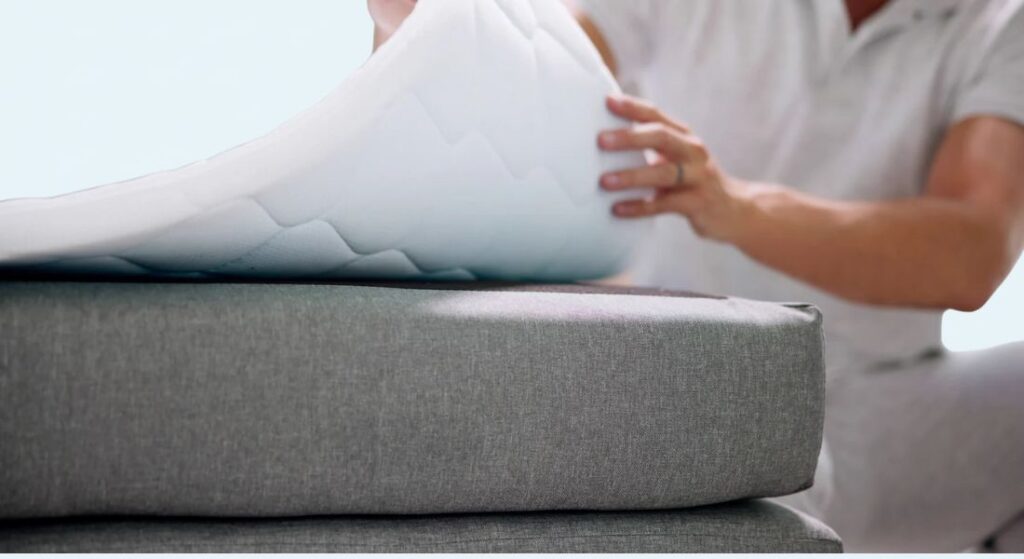
Layer memory foam toppers ranging from 2-4 inches thick. Cut oversized initially for final trimming—this allows adjustment for perfect fit in zippered covers. Verify fit before final installation as bonded layers increase thickness.
Custom Cushion Creation Made Simple
Build bay window seating by bonding multiple foam layers. Combine different densities—soft top layer over firm base—for optimal comfort without sacrificing support. Your bonded foam should flex naturally without visible seams—any stiffness indicates technique errors.
Master these how to glue memory foam together techniques and you’ll create professional-grade assemblies that last for years. Proper surface prep, quality adhesive selection, and patient application separate amateur results from showroom quality. Always test adhesives on scrap foam first and allow full cure time before use—your comfort depends on these critical steps.