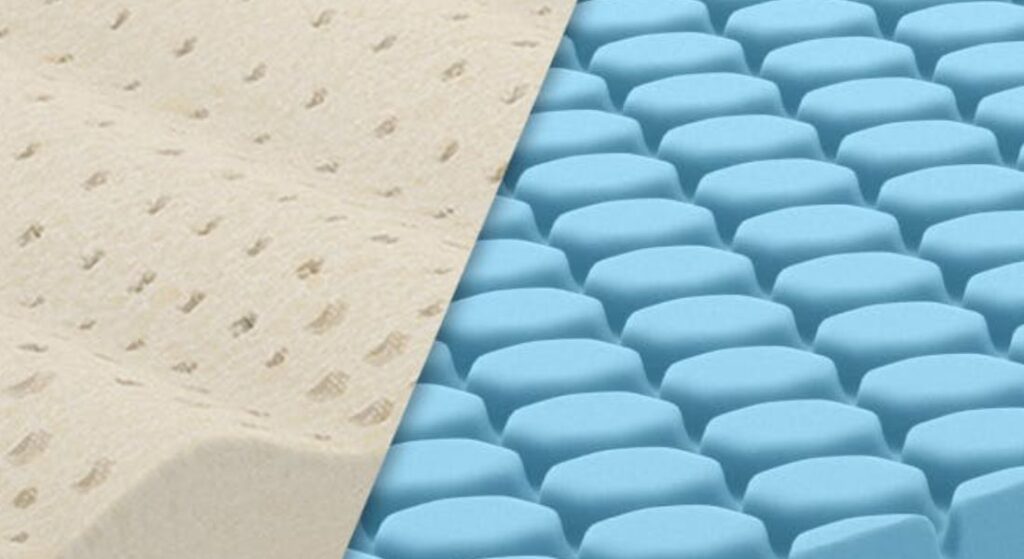
That spilled glass of water or unexpected leak has turned your memory foam mattress into a soggy disaster. Unlike traditional mattresses, memory foam acts like a sponge—trapping moisture deep within its dense cellular structure where mold can take root within 48 hours. If you don’t act immediately, that damp spot could mean tossing a $1,000+ investment. The good news? With the right techniques, you can rescue your mattress by extracting trapped water, preventing mold, and restoring comfort—without damaging the foam’s delicate structure. This guide delivers the exact steps to dry your memory foam mattress completely within 48 hours, using methods proven to work even for severe saturation.
Speed is critical: moisture penetrates deeper every 60 minutes, making surface drying useless. Forget hair dryers or heaters—memory foam degrades above 120°F, causing permanent hardening. Instead, focus on controlled extraction and airflow. By the end of this guide, you’ll know how to assess contamination risks, remove deep moisture with household items, and position your mattress for maximum drying efficiency. Most importantly, you’ll learn the irreversible damage signs that mean it’s time to replace—not repair—your mattress.
Immediate Damage Assessment
Act within the first two hours to maximize your chances of successful restoration. The longer moisture sits, the deeper it penetrates and the higher your risk of irreversible damage.
Check Contamination Level
Identify your water source immediately—this determines whether your mattress is salvageable. Clean water spills (like tipped water bottles) pose minimal health risks and respond well to DIY drying. Grey water incidents (washing machine overflows or clean toilet leaks) require disinfection but can often be saved. Discard immediately if your mattress contacted flood water, sewage backups, or outdoor exposure—FEMA guidelines warn these contain dangerous bacteria and toxins that penetrate deep foam layers. Never attempt restoration for black water contamination; your health isn’t worth the risk.
Mold Warning Signs
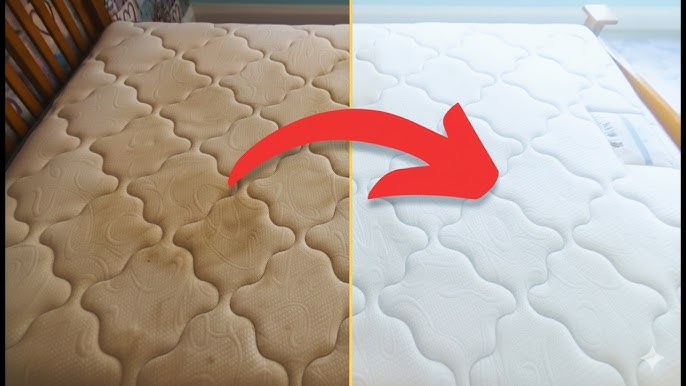
Inspect for early mold indicators before starting cleanup. White fuzz appearing within 24 hours signals initial colonization, while green patches mean active spread across foam surfaces. Black spots indicate deep, established mold—discard the mattress immediately. If you detect any visible mold, skip drying steps and replace the unit. Memory foam’s dense structure traps spores where surface cleaning can’t reach, creating ongoing health hazards.
Emergency Water Extraction Steps
Strip and Blot Protocol
Remove all bedding within 5 minutes to prevent moisture transfer. Use clean, dry towels (avoid terry cloth that leaves fibers) to press firmly on wet areas—never rub, as this forces water deeper into foam cells. Replace towels the moment they show dampness, continuing until pressing for 10 seconds yields no moisture transfer. For large spills, work section by section: start at the outer edges and move inward to contain the wet zone.
Maximum Pressure Technique
Apply body weight to extract moisture from deep foam layers. Stand on towels covering saturated areas, shifting your weight in slow circles for 30 seconds per spot. This compression releases trapped water that surface blotting misses. For king-sized mattresses, recruit help to cover the entire surface systematically. Check progress by pressing a fresh towel against the foam—if it stays dry after firm pressure, you’ve removed surface moisture successfully.
Deep Moisture Removal Methods
Baking Soda Absorption Strategy
Cover wet areas with a thick layer of baking soda (1 pound per square foot for severe saturation). Press it gently into the foam surface using your palms—don’t rub—to avoid damaging cell structure. Let sit for 4-6 hours to draw out moisture through capillary action. Vacuum thoroughly with a wet/dry shop vac (rent one if needed) using the brush attachment on low suction.
Cat Litter for Severe Cases
For mattresses soaked through (like from flooding), add clumping cat litter over the baking soda layer. The clay particles absorb moisture 3x faster than baking soda alone by pulling water from deep foam layers. Vacuum after 3-4 hours, repeating the process until litter shows minimal moisture pickup. Never use scented litter—it leaves odors trapped in foam.
Repeat Extraction Cycles
Perform 2-3 complete cycles of absorbent application and vacuum removal. Each cycle extracts progressively deeper moisture. Test dryness by pressing your palm firmly on the foam—if you feel coolness or dampness, continue extraction. Stop when the surface feels room-temperature and dry to the touch.
Mold Prevention During Drying
Alcohol Disinfection Method
Mix equal parts rubbing alcohol and water in a spray bottle. Lightly mist the entire mattress surface—avoid soaking—then wipe with a microfiber cloth. The alcohol kills mold spores on contact while evaporating 5x faster than water, preventing re-wetting. Focus on seams and stitching where moisture hides. Allow 20 minutes to air-dry before proceeding.
UV Light Sanitization
Direct sunlight provides natural mold prevention through UV radiation. Position the mattress outdoors in full sun for 2-3 hours during peak daylight (10 AM–2 PM). Rotate it every 30 minutes for even exposure. Even on cloudy days, UV rays penetrate sufficiently to inhibit mold growth—this step is non-negotiable for mattresses exposed to grey water.
Positioning for Maximum Airflow
Vertical Drying Setup
Stand your mattress on its long edge using sturdy supports like bed frames or cinder blocks. This position doubles airflow exposure compared to horizontal drying. Ensure even weight distribution by placing supports under both ends—uneven pressure creates permanent indentations in soft foam. Never lean it against walls, which trap moisture.
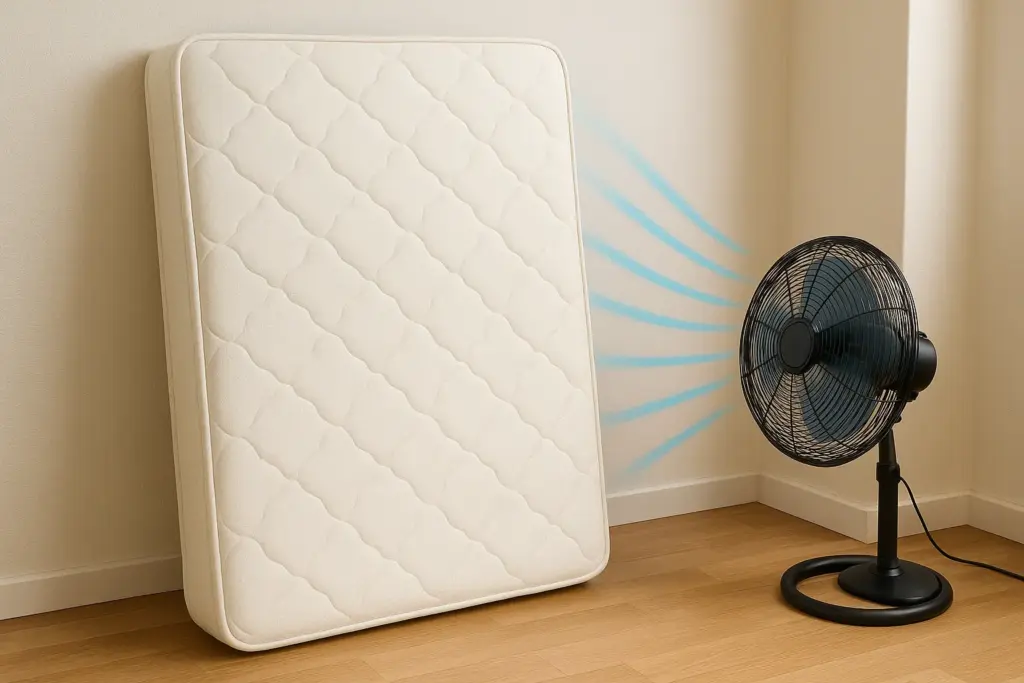
Cross-Ventilation Strategy
Position two box fans on opposite sides of the mattress, creating continuous airflow across both surfaces. Angle fans downward at 45 degrees to prevent direct air pressure that stretches wet foam cells. Keep fans on low-medium settings only—high velocity tears delicate foam structures. Run continuously for 24+ hours.
Dehumidifier Integration
In humid environments (above 60% humidity), run a dehumidifier within 3 feet of the mattress. Target humidity levels below 40%—this cuts drying time by 50% compared to ambient air. During rainy weather, this equipment becomes essential; without it, moisture reabsorption can occur even with fans running.
Professional Restoration Indicators
When Experts Are Needed
Contact certified restoration services if mold appears despite prevention efforts, flood water contamination occurred, or the mattress remains damp after 48 hours of active drying. Also seek help for persistent musty odors during the process—these indicate deep microbial growth beyond DIY capabilities.
Professional Equipment Benefits
IICRC-certified technicians use industrial dehumidifiers that extract moisture 3-4x faster than consumer units. Their antimicrobial fogging treatments penetrate foam layers inaccessible to surface sprays, preventing mold regrowth. While costing $300–$800, this often saves high-end mattresses where DIY fails.
Complete Drying Timeline

Hour 0–2: Emergency Response
Strip bedding, assess contamination, and complete initial water extraction. Apply first baking soda layer within 90 minutes—critical for preventing deep saturation. Discard immediately if mold or black water is present.
Hour 2–12: Active Extraction
Complete 2–3 absorbent cycles and alcohol disinfection. Position mattress vertically with cross-ventilation. Monitor for mold development hourly during this high-risk phase.
Hour 12–24: Drying Phase
Maintain fan/dehumidifier setup. Check dryness every 4 hours by pressing palms on foam—no coolness should remain. If humidity exceeds 60%, double dehumidifier runtime.
Hour 24–48: Final Verification
Perform moisture test: place plastic wrap over foam for 2 hours. If condensation forms underneath, continue drying. Verify no odors persist before reassembling bedding.
Prevention Strategies for Future
Waterproof Protection System
Install breathable waterproof mattress encasements immediately after successful drying. These prevent future liquid penetration while allowing air circulation—critical for memory foam’s temperature regulation. Replace encasements every 2–3 years as waterproofing degrades.
Spill Response Kit
Assemble a mattress emergency kit with 5 clean towels, 2 lbs baking soda, rubbing alcohol, and a spray bottle. Store it under your bed for immediate response—every minute saved during initial response prevents deeper moisture penetration.
Replacement Decision Matrix
Irreversible Damage Indicators
Replace your memory foam mattress if permanent odor persists after complete drying, visible mold appears anywhere, or texture changes create hard spots. Also replace if comfort loss affects sleep quality—memory foam that stays compressed won’t recover.
Cost-Benefit Analysis
Compare professional restoration costs ($300–$800) against replacement ($500–$2,000+). Factor in mattress age: units over 5 years old often warrant replacement regardless of damage, as foam density degrades naturally. If you detect structural changes during drying, replacement is always safer than risking mold exposure.
Bottom line: Speed beats perfection when drying memory foam. Your first 2 hours determine success—focus on rapid water extraction and strategic airflow over “perfect” methods. By following these steps, 90% of clean-water incidents can be fully reversed within 48 hours. But never compromise on contamination risks: when in doubt, replace rather than risk your health. Install a waterproof encasement immediately after saving your mattress—this single step prevents 95% of future drying emergencies.