That worn-out memory foam mattress blocking your garage isn’t just an eyesore—it’s a disposal dilemma costing you $75+ in junk removal fees. Cutting it up yourself transforms an impossible haul into manageable trash bags you can wheel to the curb. This guide reveals the exact process professionals use to break down memory foam mattresses safely, avoiding fiberglass hazards and municipal fines while keeping disposal costs near zero.
You’ll discover why memory foam is uniquely suited for DIY disposal compared to spring mattresses, the safest cutting tools that won’t turn your garage into a foam-dust storm, and how to navigate hidden dangers like fire-retardant fiberglass layers. Most importantly, you’ll learn to convert that bulky queen mattress into 14-16 perfectly sized chunks ready for regular trash pickup—all within 45 minutes using tools from your kitchen drawer.
Why Memory Foam Mattresses Are Easier to Cut Than You Think
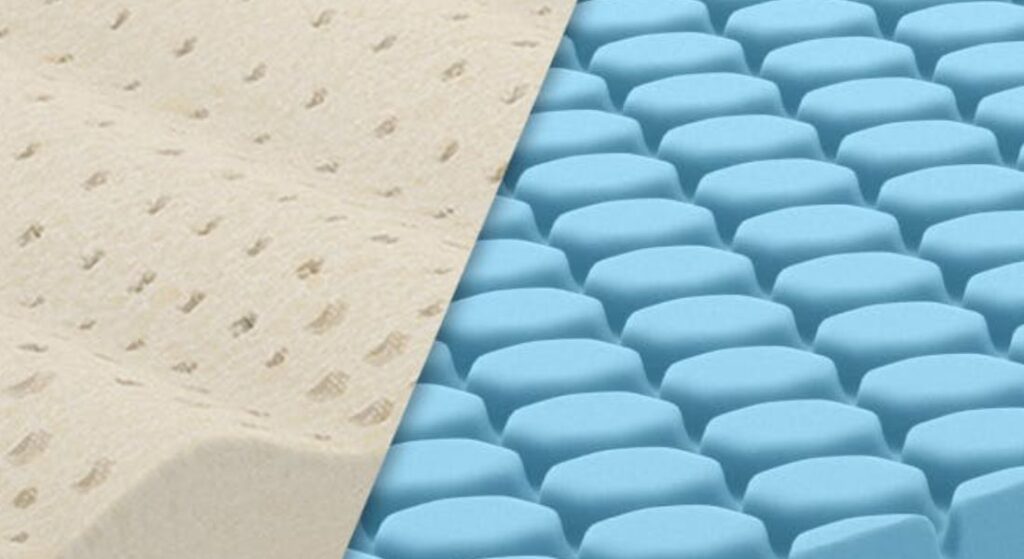
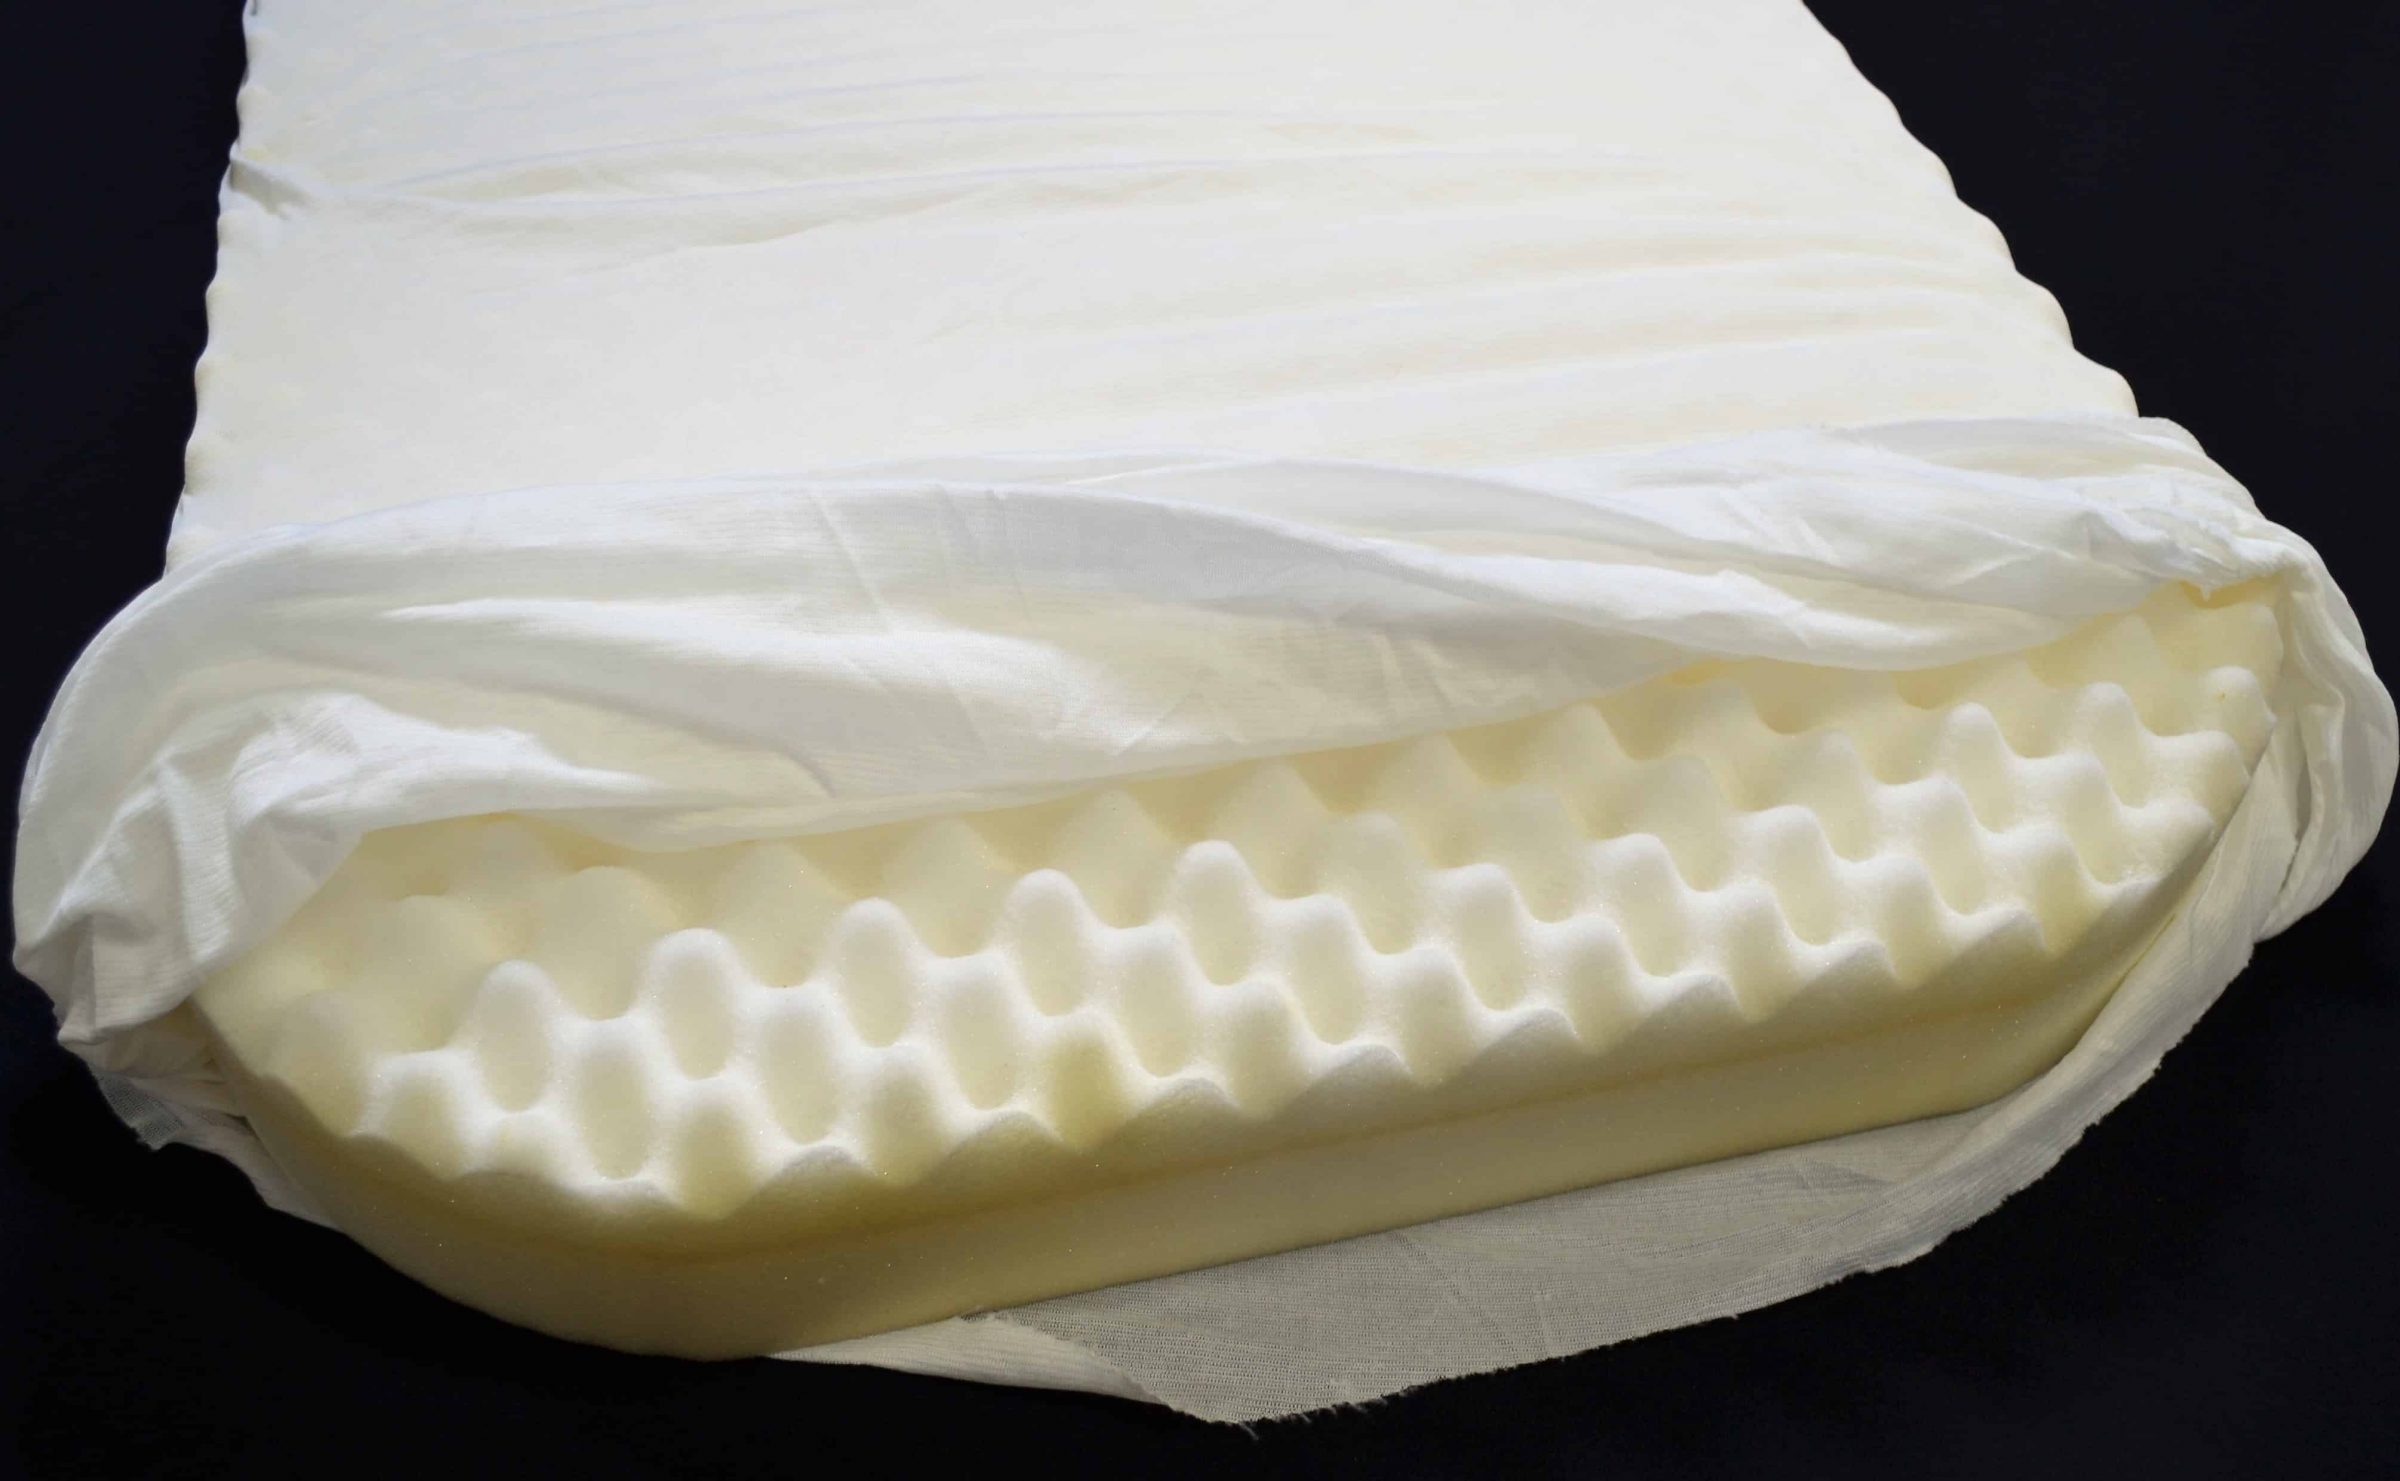
Memory foam mattresses eliminate the biggest disposal headaches of traditional mattresses: no steel coils to bend saw blades, no wooden slats to splinter, and no metal frames to wrestle. This pure-foam construction means you’re working with a single, consistent material that slices cleanly with basic tools—no industrial equipment required. The absence of complex internal structures makes disposal accessible to anyone willing to spend 30-45 minutes with a serrated knife.
Critical rule before you start: Cutting your mattress instantly voids all manufacturer warranties and sleep trials. Double-check your city’s disposal regulations first—many require plastic-wrapped pieces, scheduled bulk pickup days, or bedbug heat-treatment certificates. Ignoring these rules risks $50+ fines or rejected trash. Call your waste management provider and confirm weight limits (typically 40-50 pounds per bag) to avoid overflow penalties.
Essential Cutting Tools That Actually Work
Manual Cutting Tools for Budget-Friendly Disposal
A 10-12 inch serrated bread knife becomes your most reliable disposal ally. Its saw-like edge glides through dense foam without excessive compression, requiring minimal force. Expect the blade to dull after one full mattress—treat it as disposable for this project. Pair it with a box cutter for cover removal and precision trimming; its retractable blade prevents accidental deep cuts but will need blade replacements every 10-15 feet of cutting.
Pro tip: Freeze your serrated knife for 15 minutes before cutting. The chilled blade reduces foam tear-out and minimizes the static-cling “dust bunnies” that stick to clothing. Always cut away from your body while stabilizing foam chunks with your free hand on the opposite side of the blade path.
Power Tools That Speed Up the Process Safely
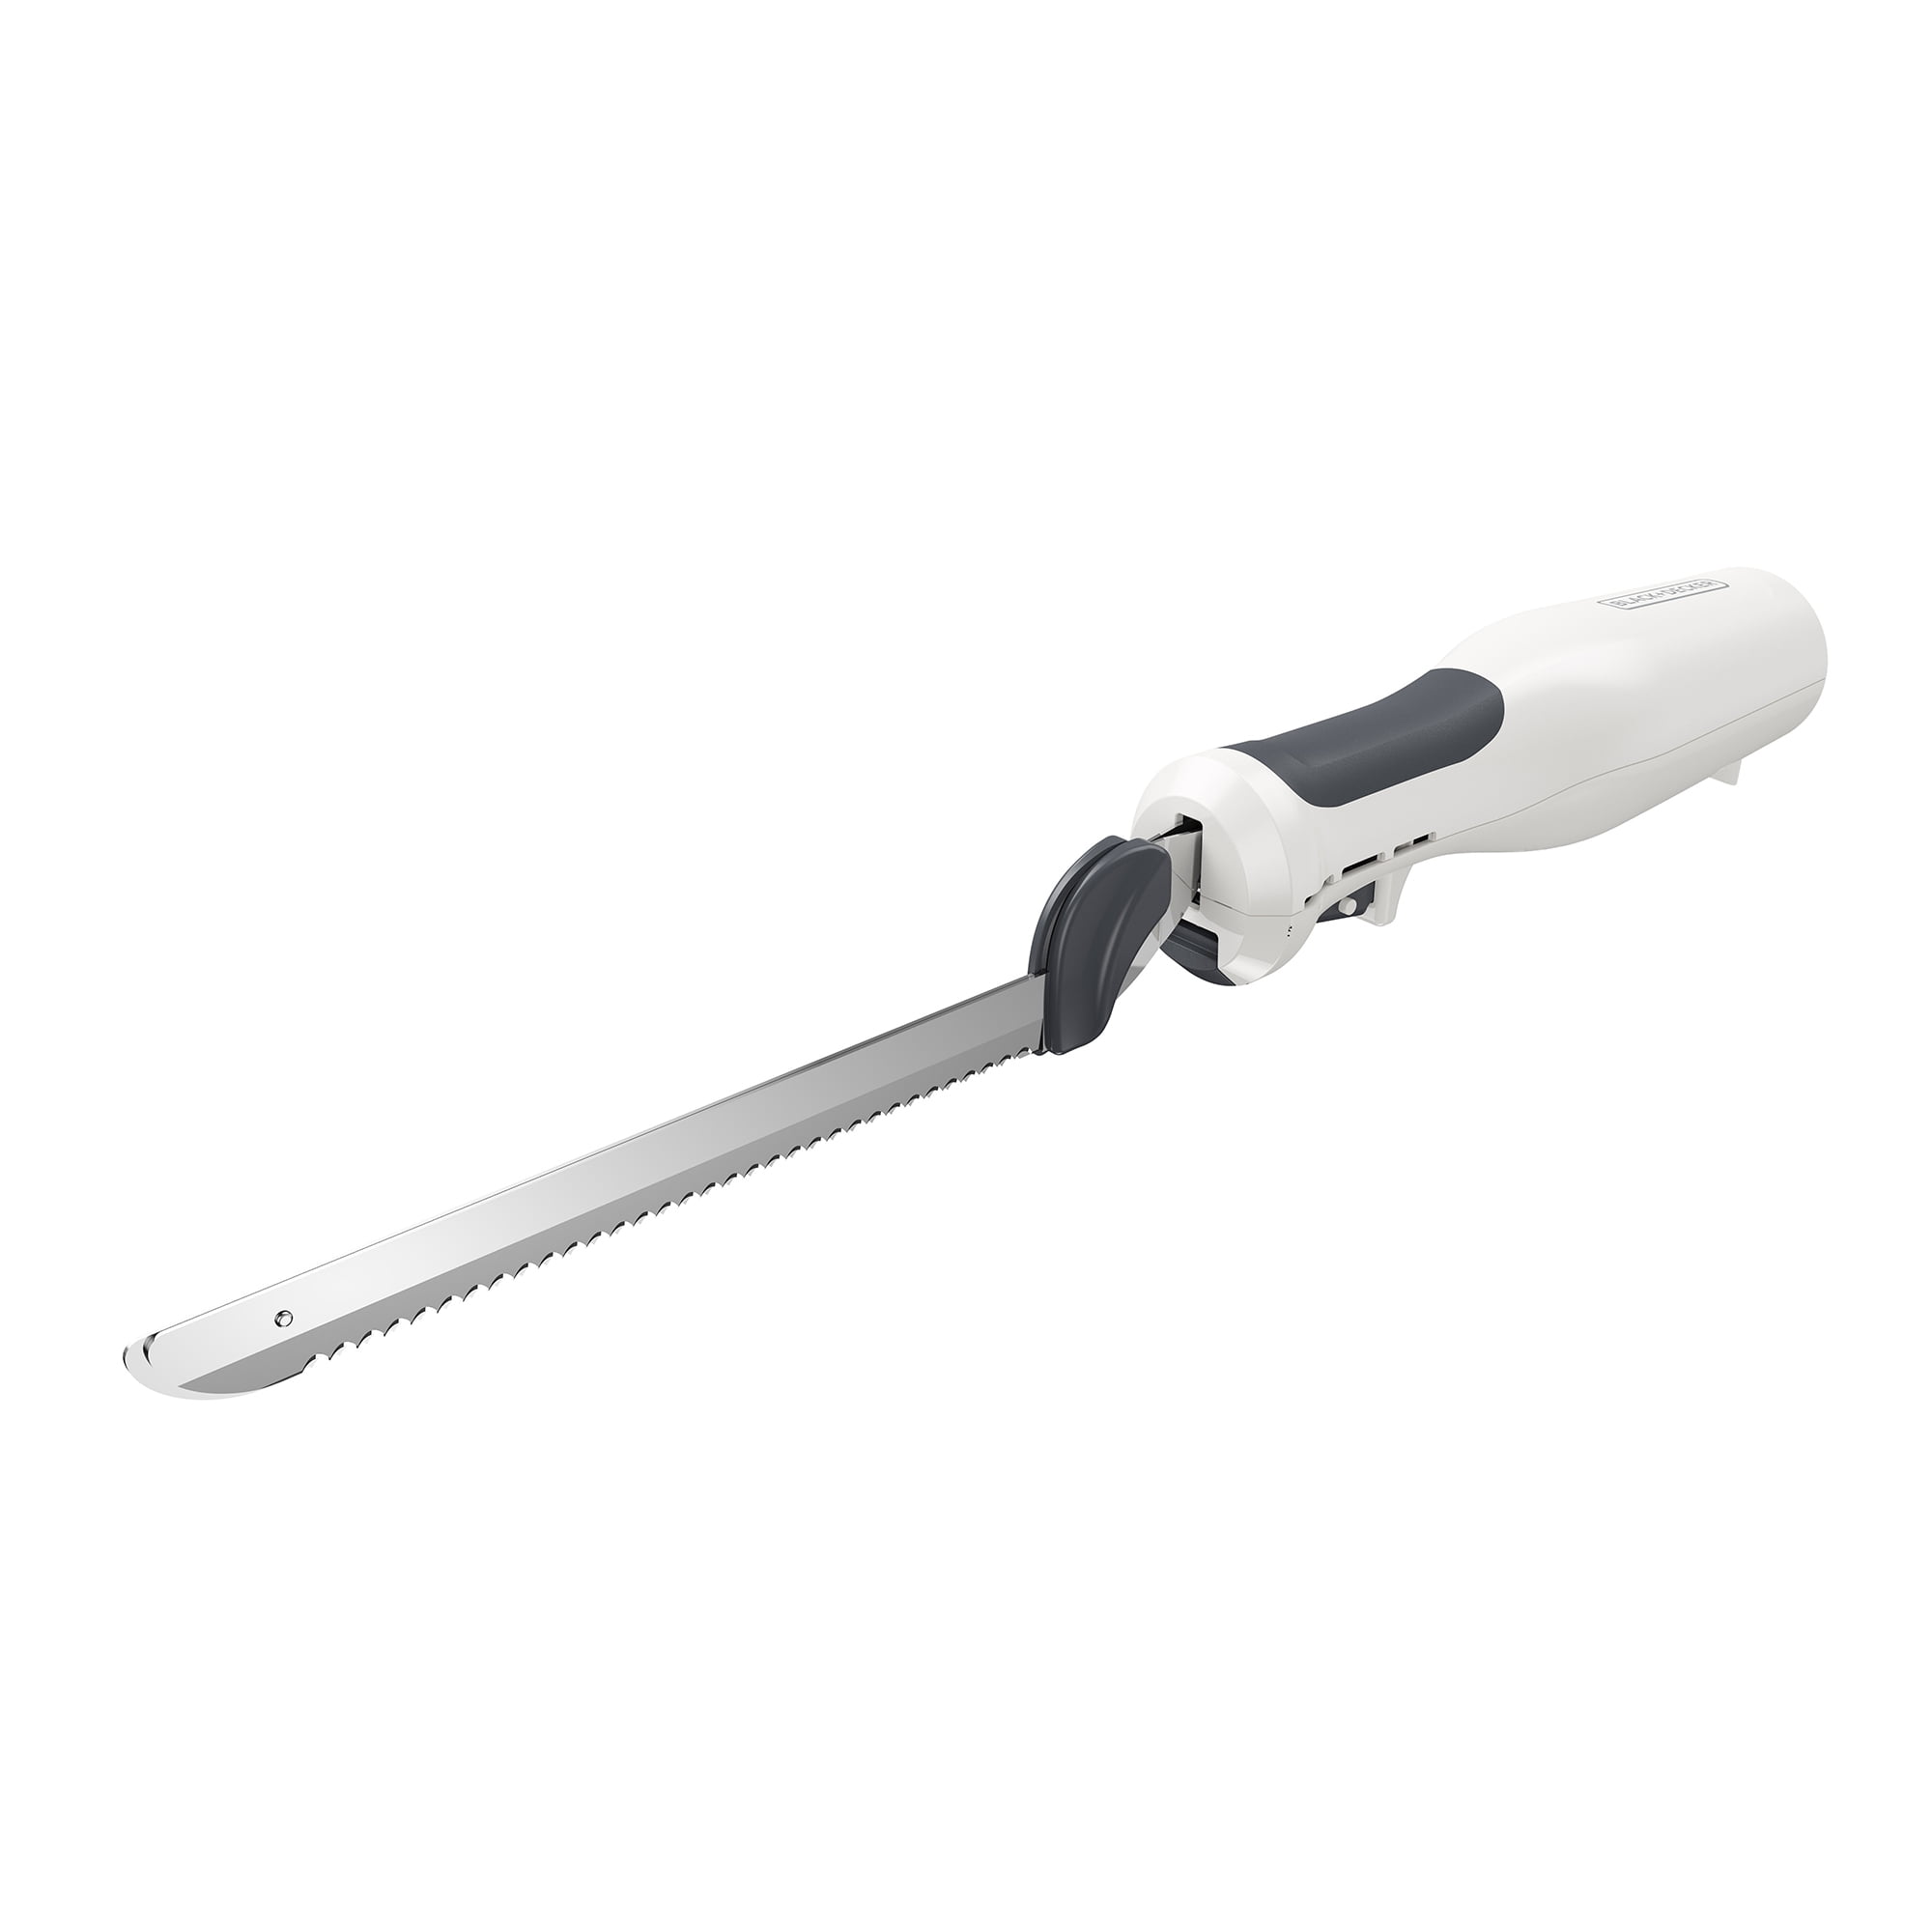
An electric carving knife (the kind used for Thanksgiving turkey) cuts queen-size memory foam in half the time of manual methods. The reciprocating blades slice effortlessly through foam with near-zero compression, though you’ll generate more static-charged debris. Keep the power cord positioned behind your cutting path and unplug the tool when clearing foam jams.
Avoid these dangerous alternatives: Electric chainsaws instantly clog with foam shreds, while angle grinders or circular saws create serious injury risks and potentially release hazardous fiberglass particles. Stick to carving knives or fine-tooth reciprocating saws for controlled, safe cutting.
Hidden Hazards Inside Your Mattress You Must Identify
Fiberglass fire socks pose the most severe risk—visible as shimmering silver threads beneath the cover. If spotted, stop cutting immediately. Disturbing fiberglass releases microscopic shards that contaminate your home and require professional remediation. Never shake or tear fiberglass-containing covers; bag the entire cover intact before proceeding.
Gel-infused foam contains cooling beads that shift during cutting. While this doesn’t complicate disposal, it eliminates cooling properties along cut edges if you’re repurposing scraps. Adhesive layers between foam sections create unexpected resistance mid-cut, often leaving stringy residue. When your knife suddenly catches, you’ve hit a glue line—ease pressure to avoid jagged edges.
Step-by-Step Cutting Process for Perfect Disposal Chunks
1. Prepare Your Workspace Like a Pro
Move the mattress to a garage or driveway with open windows for ventilation. Lay a ¾-inch plywood sheet or drywall scrap underneath to protect floors and provide cutting resistance. This prevents blade snags on uneven surfaces and contains foam debris. Wear cut-resistant gloves (level 3+) and safety glasses—static-charged foam dust clings stubbornly to eyes during cutting.
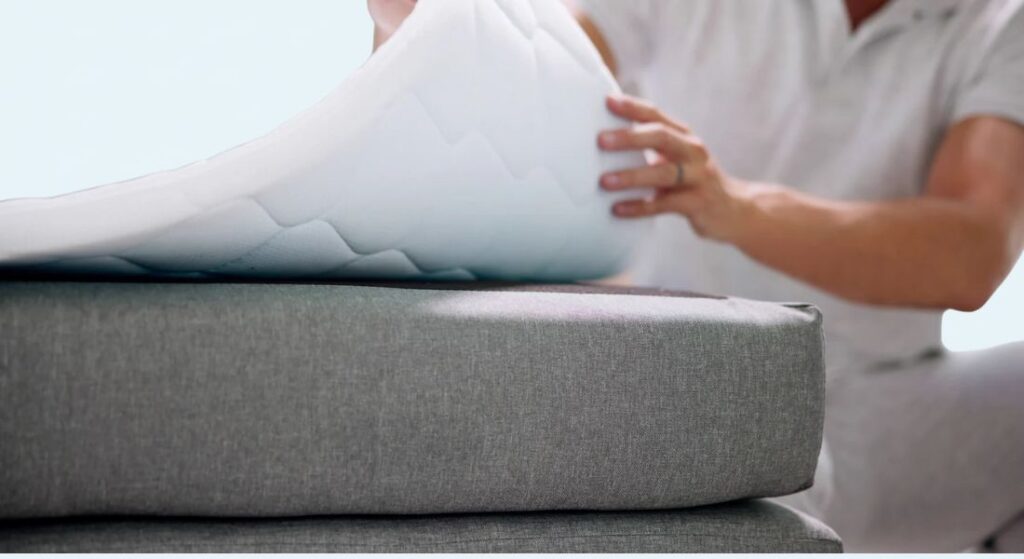
2. Safely Remove the Outer Cover
Use a seam ripper or box cutter to carefully slit the cover along seams. Work slowly to avoid nicking the foam if repurposing pieces. Critical step: If you see shimmering fibers, stop and bag the entire cover without shaking it. Fiberglass contamination requires professional disposal—don’t risk your home’s air quality.
3. Mark Precision Cutting Lines
Plan for 8-12 inch cubes—ideal for standard 13-gallon trash bags and municipal weight limits. Use a carpenter’s pencil and 4-foot level to mark straight lines on all four sides. Consistent spacing prevents oversized chunks that tear bags. For queen mattresses, divide width into 8-inch strips, then slice lengthwise into cubes.
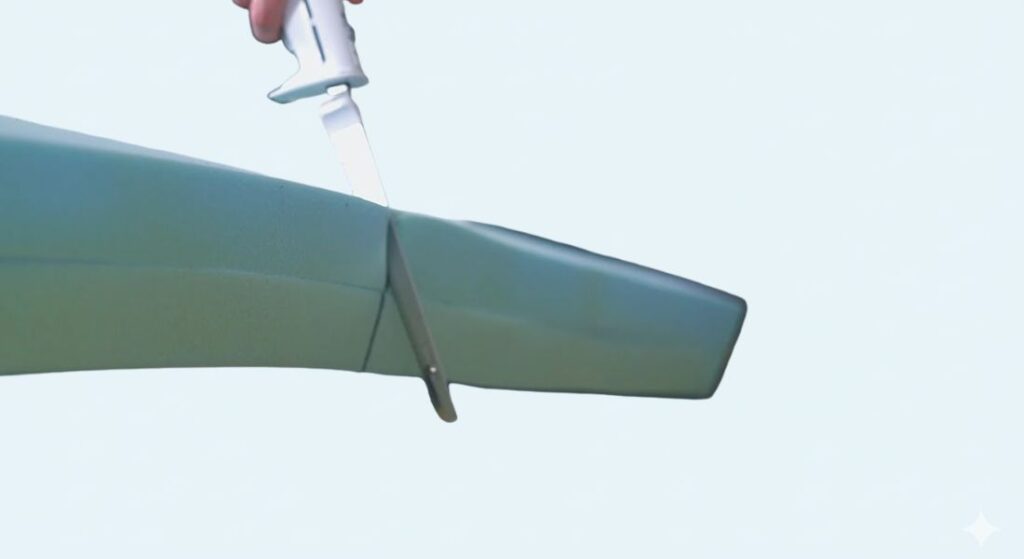
4. Execute Clean Primary Cuts
Manual method: Stand at the mattress edge, position your serrated knife at a 45-degree angle, and use gentle sawing motions. Let the blade’s weight do the work—pressing down compresses foam and creates uneven cuts. Work steadily along marked lines, rotating the mattress as needed.
Electric method: Guide the carving knife steadily along guidelines without downward pressure. The reciprocating action pulls the blade through foam. Pause every 2 feet to clear foam buildup between blades with a stiff brush.
5. Trim and Square for Hassle-Free Bagging
After primary cuts, use box cutters or large scissors to refine edges. Remove protruding foam “ears” that could puncture trash bags. Smooth rough sections with 120-grit sandpaper—this step prevents bag tears during transport. Uniform cubes slide easily into bags without wasted space.
Smart Disposal Strategies That Save Money and Time
Municipal Trash Collection Without Fines
Most cities accept properly bagged memory foam chunks in regular trash. Distribute bags across 2-3 collection days to stay under 40-50 pound weight limits. Double-bag if fiberglass was present, sealing closures with duct tape. Avoid placing bags curbside before 6 AM on pickup day—early placement often triggers overflow fines.
Eco-Friendly Recycling Center Drop-Offs
Over 90% of mattress recycling facilities accept clean memory foam pieces at no charge. Call ahead to confirm they separate foam from fabric (many require pre-sorted materials). This option diverts 75+ pounds of foam from landfills while supporting local recycling programs—just ensure pieces are stain-free and fiberglass-free.
Community Repurposing for Instant Gratification
Donate clean foam scraps to animal shelters for bedding, theater groups for sound dampening, or DIY workshops for craft projects. Verify acceptance policies first—most require odor-free, contaminant-free pieces under 12 inches. This free disposal method often qualifies for small tax deductions while helping community organizations.
Safety Checklist Non-Negotiables
- Wear level 3+ cut-resistant gloves throughout the process—memory foam’s density makes slips surprisingly common
- Use safety goggles—static-charged foam dust sticks to eyes and requires medical irrigation
- Replace utility knife blades every 10-15 feet of cutting—dull blades cause dangerous slipping
- Store cut foam away from heat sources—memory foam is highly combustible
- Never cut toward your body—position stabilizing hand opposite the blade path
Tool and Bag Estimates for Your Mattress Size

A queen-size mattress (the most common disposal scenario) requires 14-16 heavy-duty contractor bags. Use this quick reference:
| Mattress Size | Total Bags Needed | Budget Tool Cost | Time Required |
|---|---|---|---|
| Twin | 7-8 bags | $35 | 25 minutes |
| Full | 11-13 bags | $35 | 35 minutes |
| Queen | 14-16 bags | $35 | 45 minutes |
| King | 18-20 bags | $51+ | 60 minutes |
Your budget toolkit ($35 total) covers all essentials: 12-inch serrated knife ($8), box cutter with spare blades ($5), contractor trash bags ($12), and cut-resistant gloves ($10). For speed-focused projects, add an electric carving knife ($25-$40) and N95 masks ($8).
Transforming that bulky mattress into disposal-ready pieces takes less time than your morning coffee routine. By choosing the right tools, respecting fiberglass hazards, and planning bag distribution across collection days, you’ll eliminate $75+ removal fees while keeping foam out of landfills. Remember: measure twice, cut once, and never compromise on safety glasses—within an hour, you’ll have a clean garage and the satisfaction of solving a disposal puzzle with your own two hands.